| 1 |
| |
 |
|
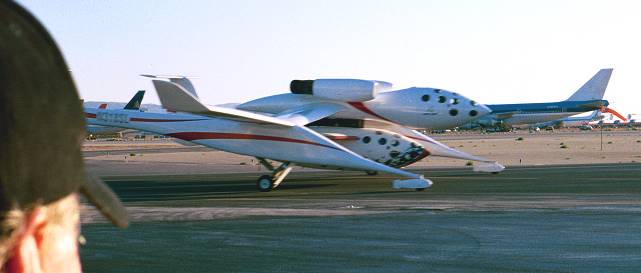
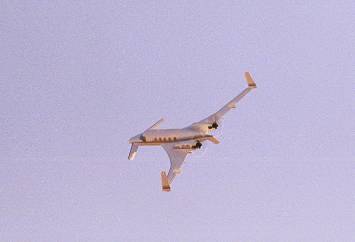
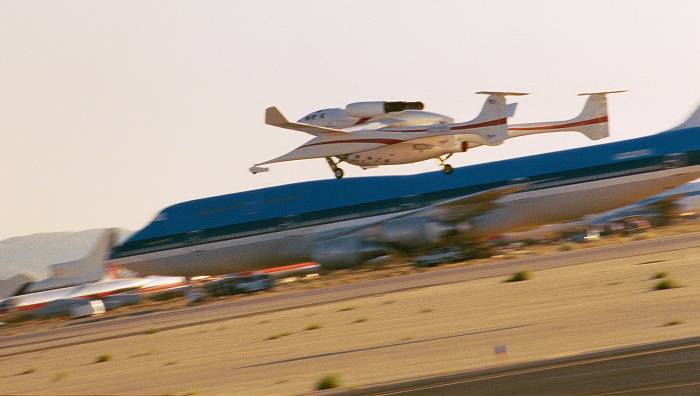
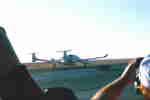
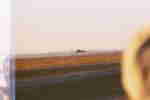
WhiteKnight with Spaceship
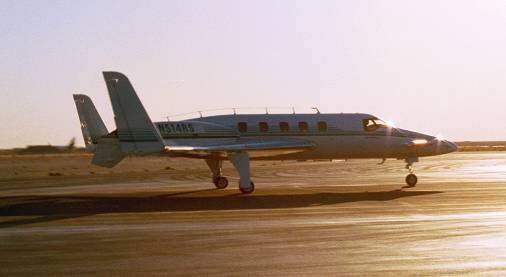
One taxing out for takeoff. |
|
|
|
|
|
| 2 |
| |
 |
|
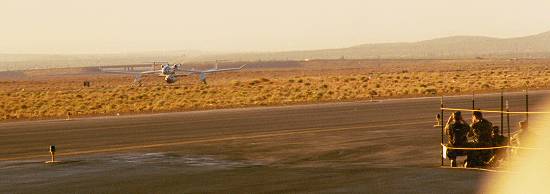
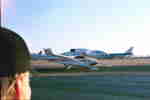
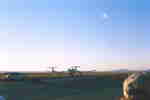
WK & SS1 Taxi #2
|
|
|
|
|
|
| 3 |
| |
 |
|
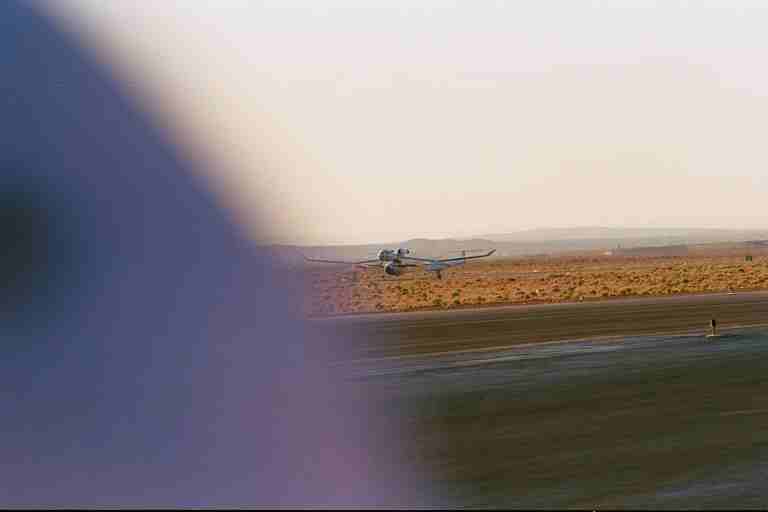
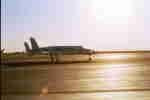
| WK & SS1 Taxi #3 |
|
|
|
|
|
| 4 |
| |
 |
|
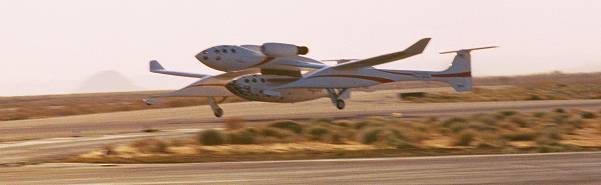
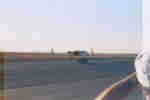
| WK & SS1 Taxi #4 |
|
|
|
|
|
| 5 |
| |
 |
|
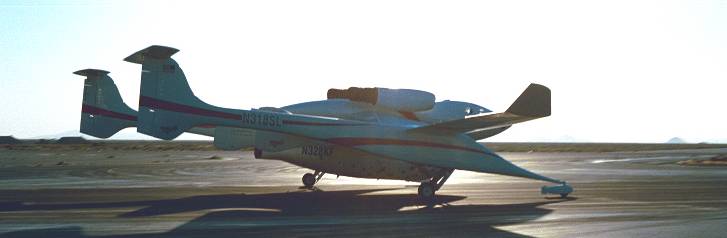
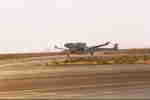
Beach Starship
(also a Rutan design)
|
|
|
|
|
|
| 6 |
| |
 |
|
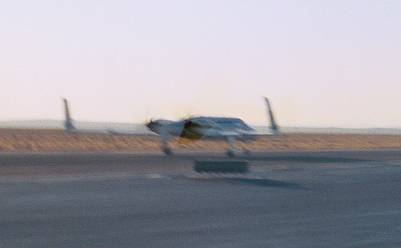
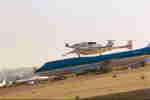
Starship taxi #2
|
|
|
|
|
|
| 7 |
| |
 |
|
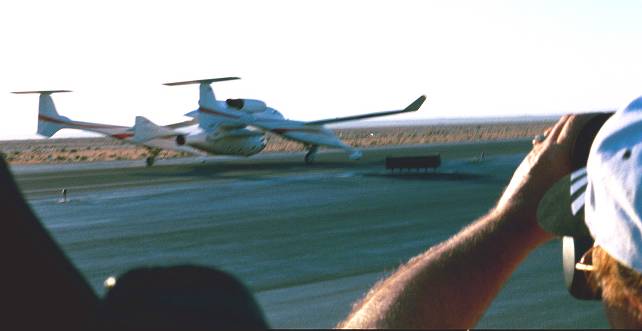
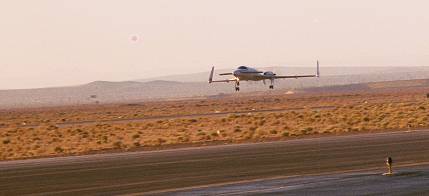
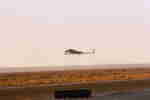
Starship takeoff
|
|
|
|
|
|
| 8 |
| |
 |
|
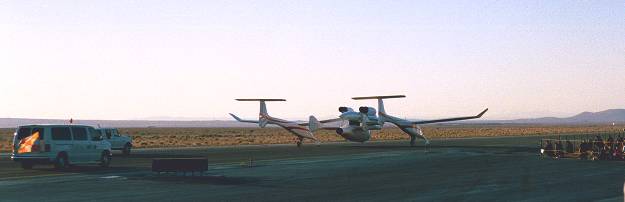
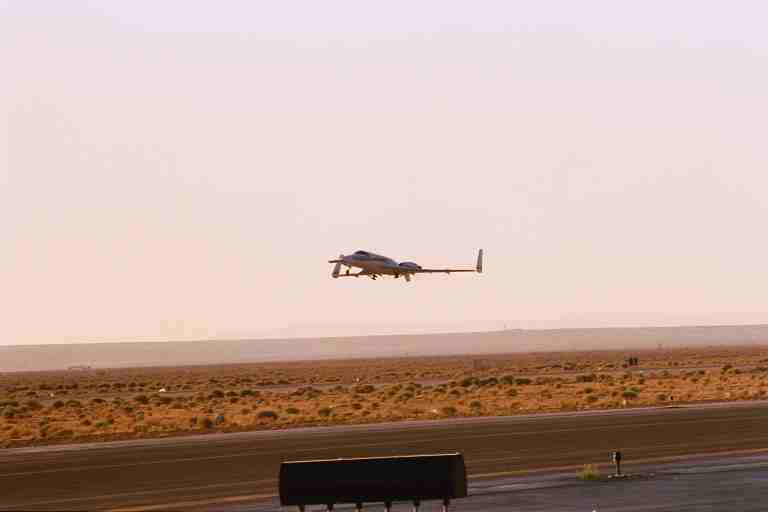
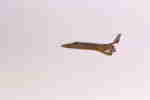
Starship takeoff #2
|
|
|
|
|
|
| 9 |
| |
 |
|
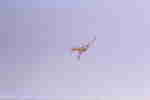
Starship takeoff #3
|
|
|
|
|
|
| 10 |
| |
 |
|
| Starship takeoff #4 |
|
|
|
|
|
| 11 |
| |
 |
|
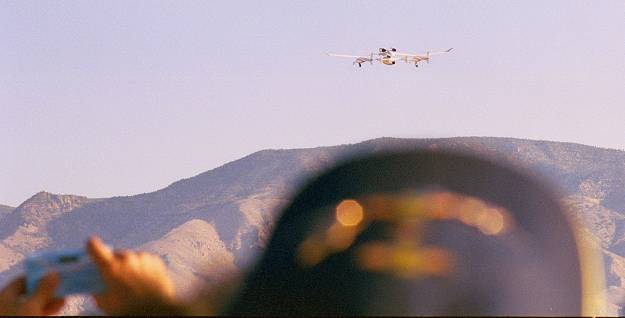
WK & SS1 Takeoff
|
|
|
|
|
|
| 12 |
| |
 |
|
WK & SS1 Takeoff #2
|
|
|
|
|
|
| 13 |
| |
 |
|
WK & SS1 Takeoff #3
|
|
|
|
|
|
| 14 |
| |
 |
|
WK & SS1 Takeoff #4
|
|
|
|
|
|
| 15 |
| |
 |
|
WK & SS1 Takeoff #5
|
|
|
|
|
|
| 16 |
| |
 |
|
WK & SS1 climbing
|
|
|
|
|
|