| 1 |
| |
 |
|
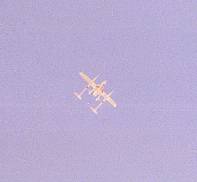
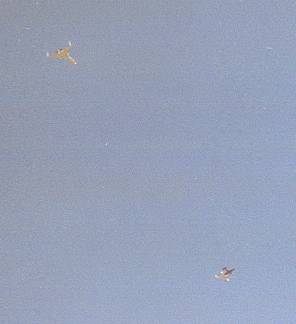
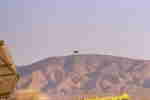
WK & SS1 climbing #2
|
|
|
|
|
|
| 2 |
| |
 |
|
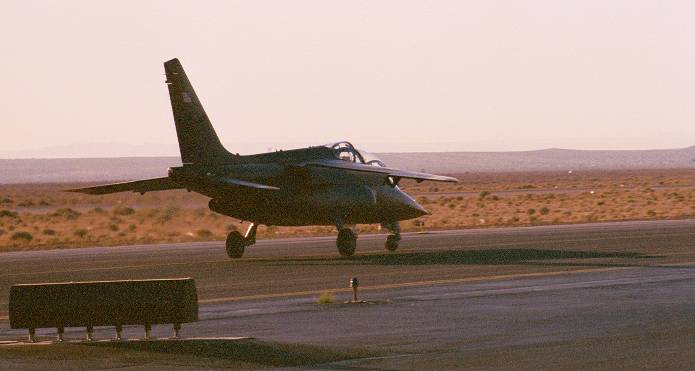
Alpha Jet chase plane taxi
|
|
|
|
|
|
| 3 |
| |
 |
|
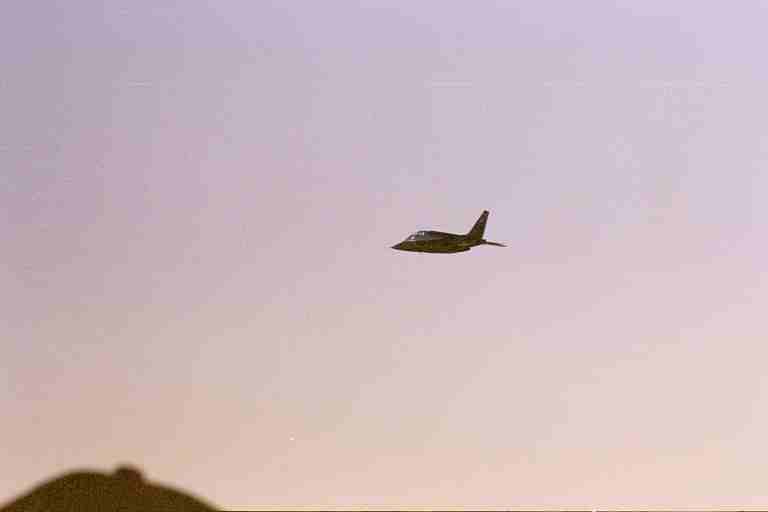
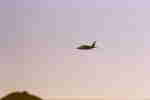
Alpha Jet takeoff
|
|
|
|
|
|
| 4 |
| |
 |
|
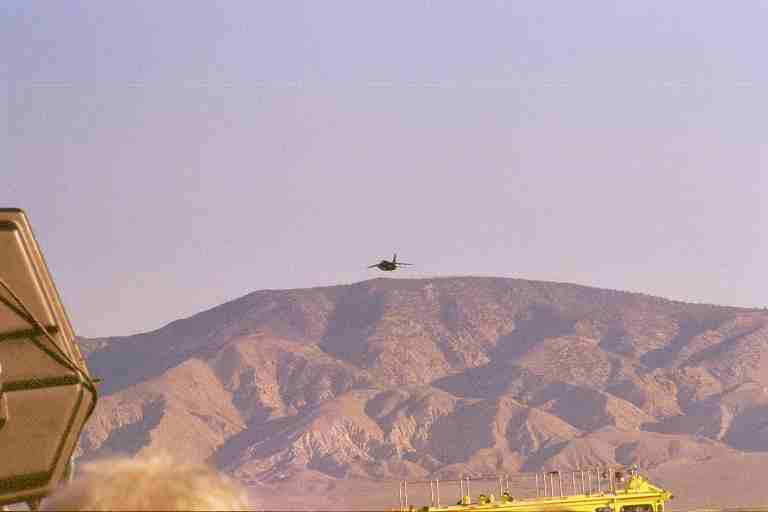
Alpha Jet takeoff #2
|
|
|
|
|
|
| 5 |
| |
 |
|
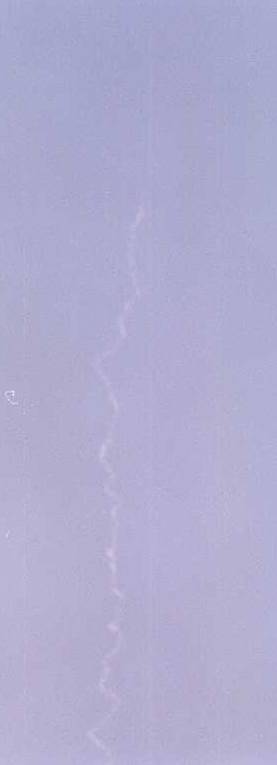
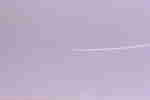
WK & SS1 contrail
during
climb
|
|
|
|
|
|
| 6 |
| |
 |
|
Spaceship One exhaust
plume
after motor burn-out
|
|
|
|
|
|
| 7 |
| |
 |
|
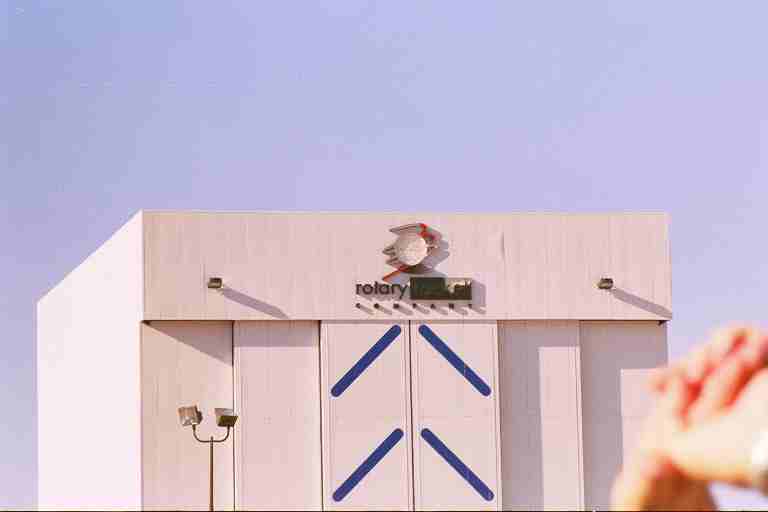
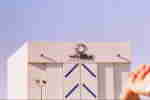
Rotary Rocket Hangar
|
|
|
|
|
|
| 8 |
| |
 |
|
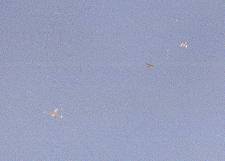
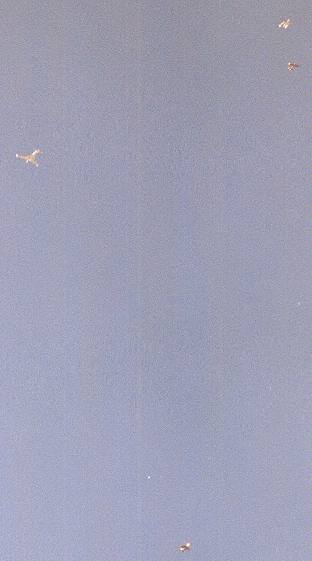
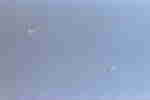
SS1 descending, joined by
Extra 300 and Starship
|
|
|
|
|
|
| 9 |
| |
 |
|
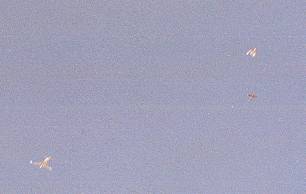
SS1 descending #2
|
|
|
|
|
|
| 10 |
| |
 |
|
| SS1 descending #3 |
|
|
|
|
|
| 11 |
| |
 |
|
| SS1 descending #4 |
|
|
|
|
|
| 12 |
| |
 |
|
| SS1 descending #5 |
|
|
|
|
|
| 13 |
| |
 |
|
| SS1 descending #6 |
|
|
|
|
|
| 14 |
| |
 |
|
| SS1 descending #7 |
|
|
|
|
|
| 15 |
| |
 |
|
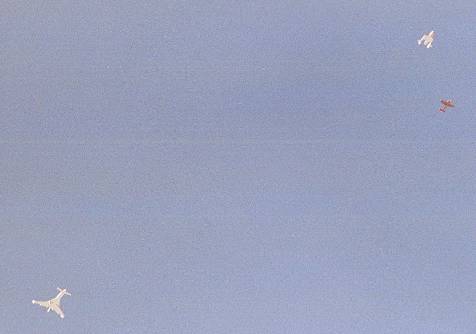
SS1 descending #8,
Alpha Jet joined up too.
|
|
|
|
|
|
| 16 |
| |
 |
|
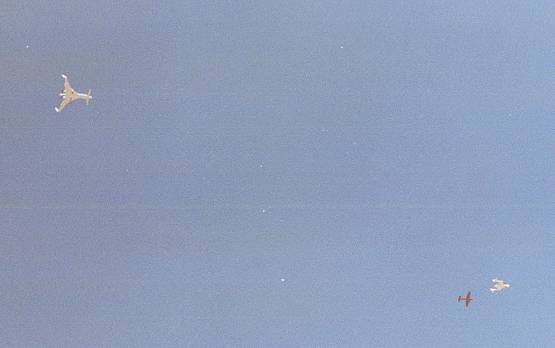
SS1 (on right) entering
landing
pattern. Alpha Jet (left)
peeling off.
|
|
|
|
|
|